White Zig Zag, A Friendly Gift 2 of 3

How full is your bobbin?

Batting - Hobbs 80/20
Templates - Straight Edge Rulers 1/8 in for marking and 1/4 in for quilting
Marking Tools - Rolling Chalk

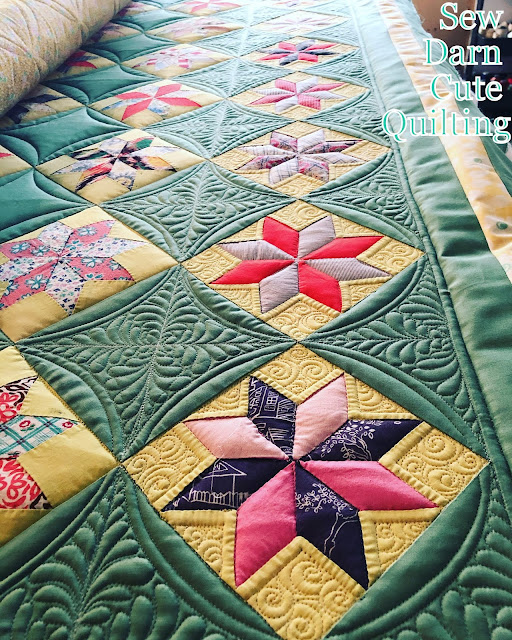
Quilting Began in the Dark fabric first.
I was absolutely positive that I wanted to quilt the dot to dot lines in this area.

Marking for the dot to dot lines. Each line is 1 1/4 inch apart. Quilting goes fast with a good 1/4 inch straight edge quilting ruler. Quilt from one side of your quilt to the other 3 times.

When I began quilting I was still unsure what quilting motif was going into the white.

 So how do I decide what designs go where?
1st - I will lay the quilt top over my longarm, gaze at it for a while.
2nd - The quilt goes onto my longarm. (this gives me an idea of the space and designs that I will be working with inside of my throat space) usually I haven't pinned down a complete quilting design until the quilt is on my frame.
3rd - I will pull out my marking tools and begin marking out different quilting designs on the quilt. (always use a removable marking tool)
4th - At this point I am usually ready to begin quilting in at least one part of the quilt. (like this quilt I was sure about the dark areas)
5th - Now that I have spent time quilting on this particular quilt, it has given me time to look at the fabric and the designs within the fabric. One or more of these designs will become a quilting motif. (This quilt has many feather designs. So I went with a feather variation)


Back

All Done
Thank you, Sandy

May all your Quilting Dreams Come True

Comments
Post a Comment
I would love to hear what you think and answer any questions that you may have. If you do not have a Google account you can leave a comment as Anonymous. April