Flying Geese
Quilting away here, mixed with homeschooling, doctor visits, vet visits, and house cleaning. It's been a busy time but I did happen to complete a quilt in the mess of things. Oh... if I could only quilt and go on hikes for just 1 week and not have to leave my house. That would be heaven. I'll try this week and let you know how that one went. In the meantime check out this
beautiful flying geese quilt


Above is a picture of the Back

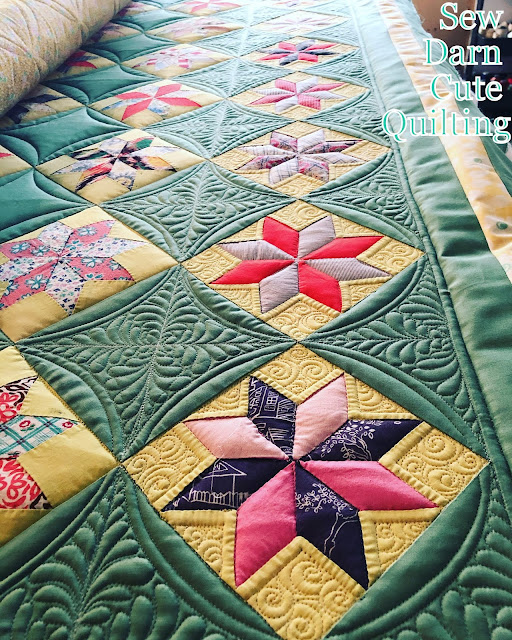
Here is the Front
A beautiful flying geese quilt with a large border gives me a ton of room for Free Motion Quilting. This quilt measures 52" x 52" so it small enough to baste it all around the outer edges of the quilt. Above you can see a straight basting stitch. This is the top and bottom of the quilt. Below you can see a zigzag basting stitch this is the sides of the quilt. This helps tuck down any fullness. When basting you want to make sure your quilt is straight. Usually, you can determine this by the inner borders and how far away it is from the edge and center of the quilt. Always remember that as you quilt the fabric will tighten up. So having a slight puff is okay. By following and measuring your borders all the way down your quilt will also help to make sure your quilt is straight.

Once the quilt has been basted all around, trimming off the excess batting will help as you roll your quilt back and forth. I like to leave an inch or so just in case. This method means that you will only use 2 leaders to hold your quilt instead of 3. It is a Float and Baste method, which means before you begin quilting your quilt has been completely basted to your backing.


Ready to quilt.

A few tools for the job.
Purple Disappearing Marker
Straight edge ruler
2 inch Circle ruler for the feathered wreaths
and always a Clover stitch picker
Thread - So Fine 402
Batting - Hobbs 80/20

I started off with SID, echo work then the feathered wreaths.
They were my favorite parts of the quilt.

The center is done.
Borders

I pulled in 4 feathers from each borders edge.

For my feathers, I like to quilt the spine first, Up and Down the Spine.

Then feathers up one side of the spine and Echoed down on the outside of the feathers. Repeat to the other side of the spine. Your starting and ending point should be at the base of the feather.

For the fillers Crosshatching and

Swirls.

Since my last quilt, I am trying to mark as little as possible. Which can be difficult if you want perfect little squares.
For the 1 inch Crosshatching, I went around the entire quilt with 1-inch diagonal lines. Then I came back around the whole quilt with this next method.

If your lines are spaced evenly apart you can use the next line as a starting guide.

My ruler has horizontal, vertical and diagonal lines which will help me to make a perfect square if I'm careful and take my time.
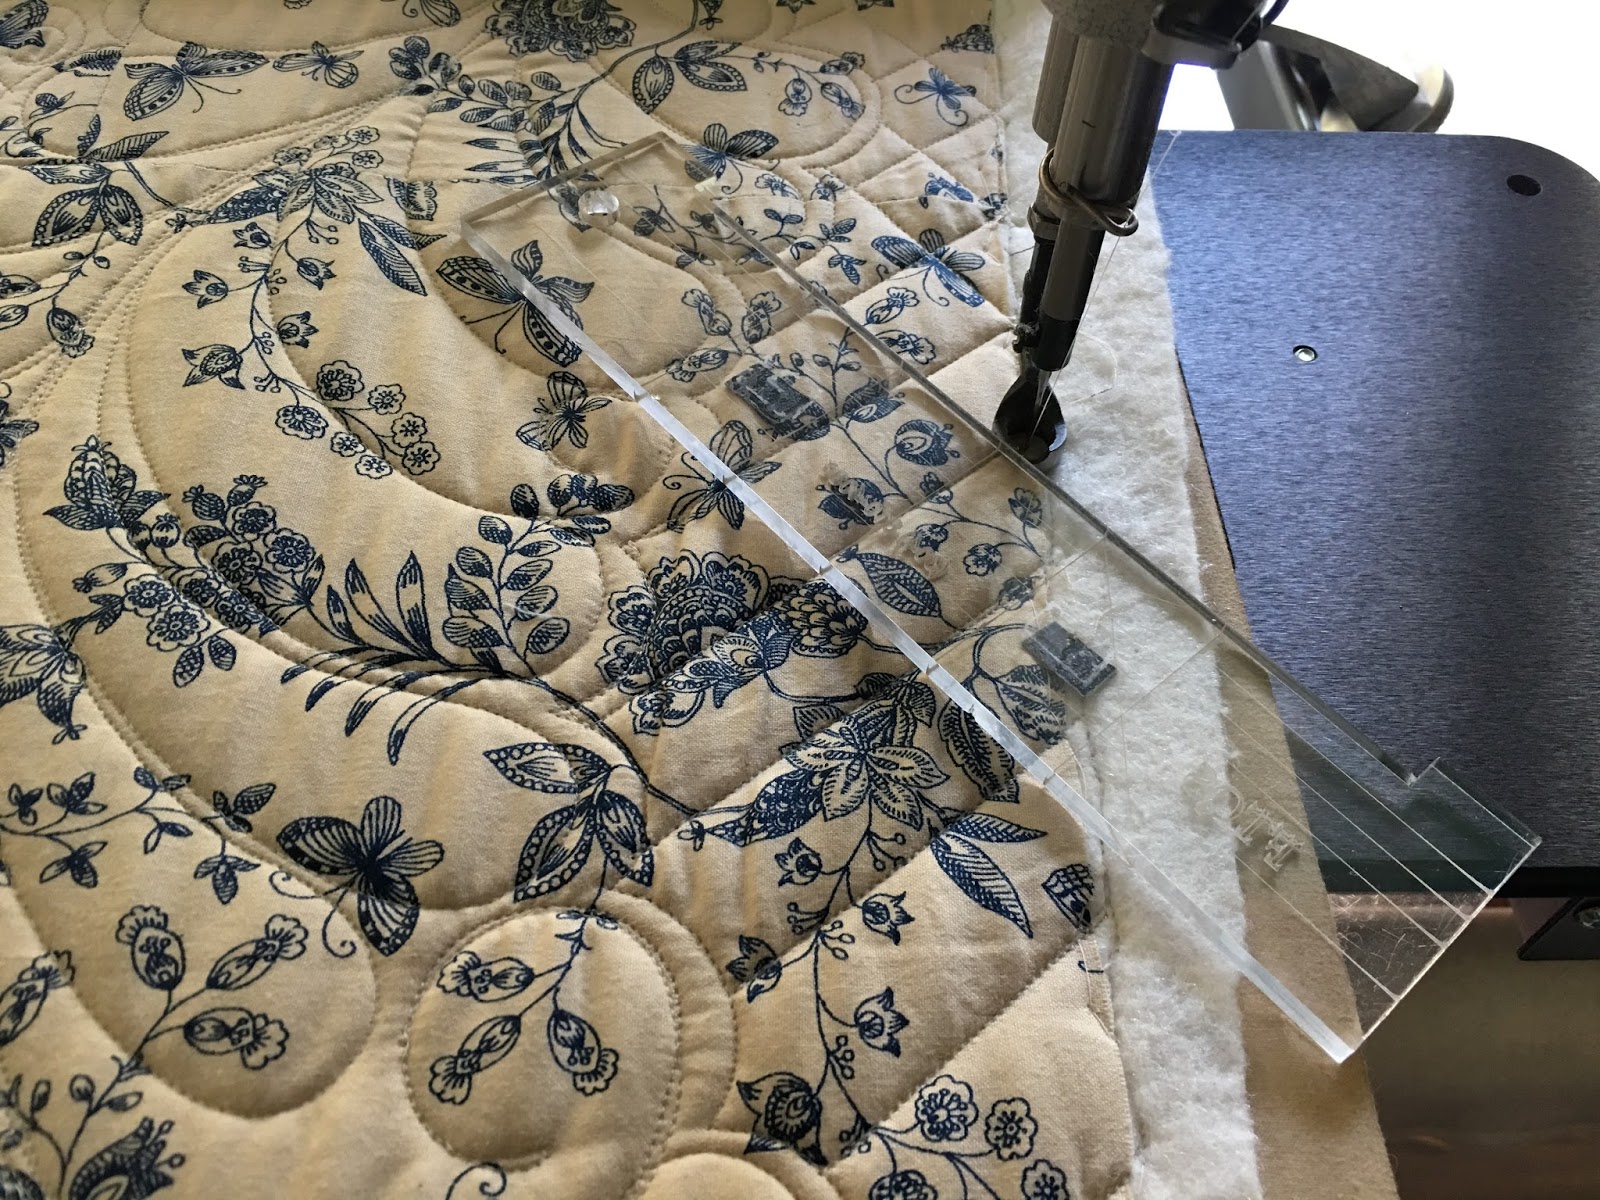
Using the guidelines on your ruler will help you to make a perfect crosshatch.

For my crosshatching, I will quilt the same line twice instead of traveling along the feather.
Up then Down the diagonal crosshatch line.


All Done!!!

Thank you, Sandra

Up Next....


Beautiful quilt and the quilt designs fit it perfectly. Hopefully some day you will be back to customer quilting but kids are only young for such a short time and family should always come first.
ReplyDeleteThank you
DeleteThank you for being so generous with your expertise. Tips like yours are like gold to new longarmers.
ReplyDeleteI am so happy to hear that. my goal is to one day share in classes.
Delete