Rising Sun with Spiro-Quilting Tutorial
 A bit of playtime is sometimes all we need to get back into the creative direction.
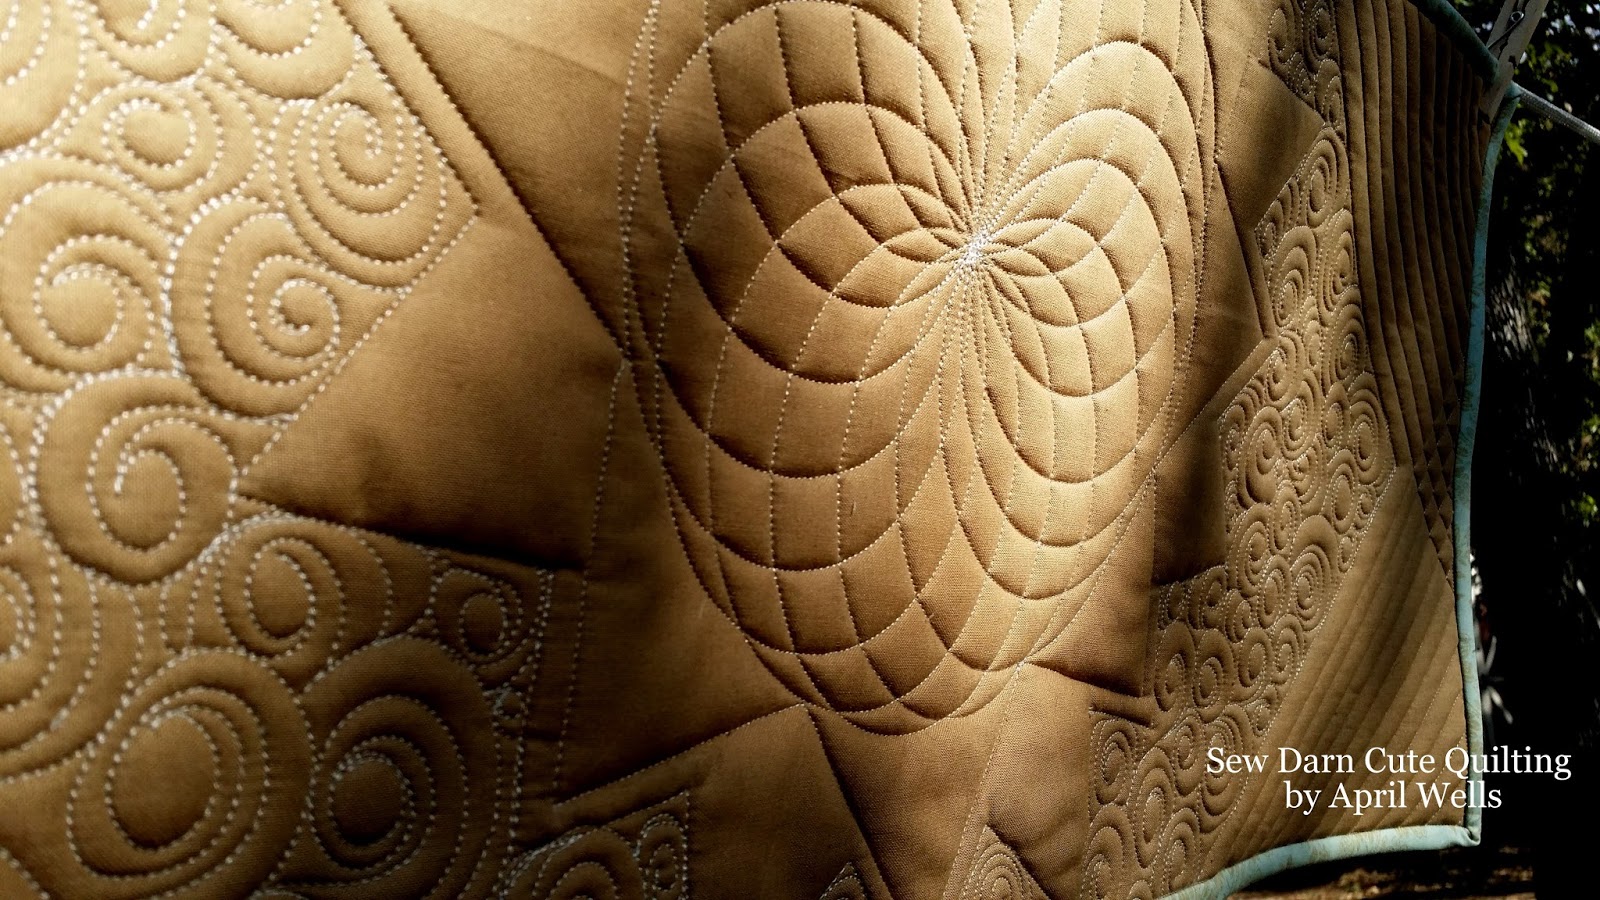
I threw this small quilt sandwich on my frame and went to town.

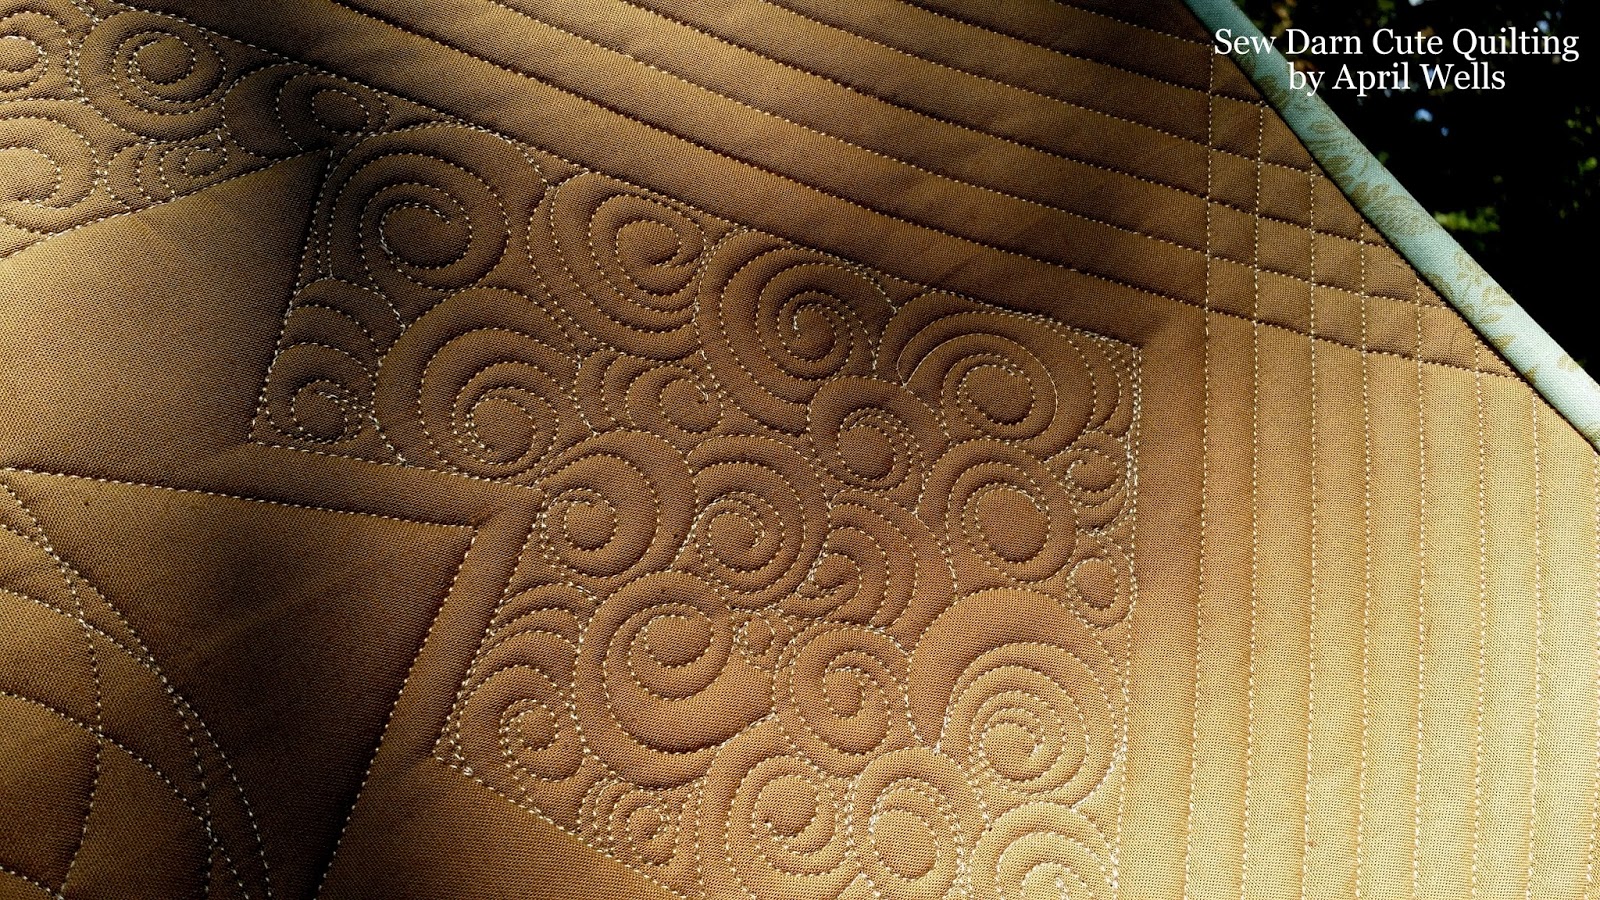
Repeating Circles in a circular pattern is how I make this design.
I used a longarm 4 inch circle ruler (below).
When I move the circle around I use the red tape to mark the distance that I move my ruler.

Start by quilting a circle then slowly move your circle ruler counterclockwise. Match up your stitch line with the edge of your mark (tape line) on your ruler. Go completely around your circle and repeat the process all over again until you have completed your Spiro-Quilting Circle.
Once you get to the last circle, make sure that it is centered between your first and your previous quilted circle. This will help to even out your design. This method is not mathematically made, it is creatively made. If you have quilted with rulers you know that even being off by 1/8 of an inch is very easy and if you try to mathematically make this design work you might end up pulling out your hair. I have done this process the creative way many times and it has worked for me. So, have fun with it and try different ways that will work for you.


I hope this diagram is helpful.

Spiro-Quilting can only be done with patience so slow down and have fun.


Take a break and give yourself a playtime.
You never know what your creative side will come up with.

love the design, looks fairly easy, but I don't understand how you use the tape to make your circles correct. Can you explain it better or do photos??
ReplyDeleteYour quilting is wonderful!! Debb
Hey Debb,
DeleteI updated my post with some drawings. I hope they help.
I am in the process of setting up a way to video tape my quilting, as soon as I get a video of this method I will let you know.
Thank you so much,
April Wells
I love this spiro quilting design. will be waiting for a video and some drawings to understand how to do this.
ReplyDeleteI have posted a detailed diagram of the Spiro-Quilting. I hope it helps.
DeleteThank you so much for the more detailed explanation of the spiral design . Can not wait to use this in a quilt.. Merci !
ReplyDeleteYour work is beautiful and this tutorial is very inspiring! Thanks so much!
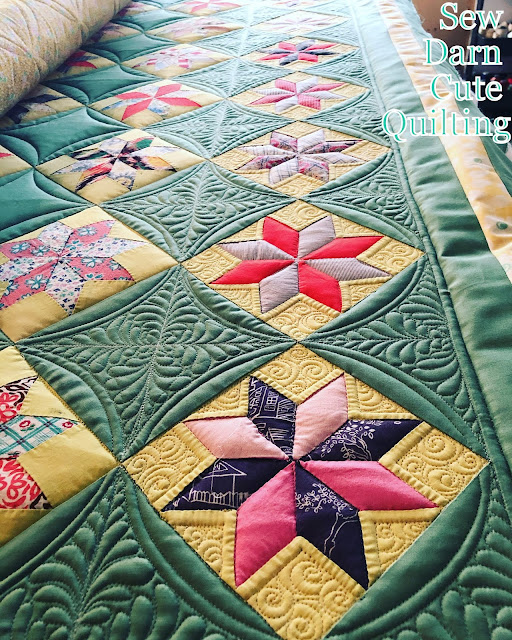
ReplyDeleteThank you so much. This mini quilt is one of my favorites. It will be in the Tomorrow's Heirlooms XVI Quilt Show in Springdale, AR. I already miss it. I guess it is time to make a new one.
DeleteWonderful tutorial, I've always been fascinated by how to make that design, now I know. What type of ruler are you using? It seems as if a solid circle ruler would be much easier to hold on to.
ReplyDeleteTo make sure your design is symmetrical. Make a plus sign mark + and place an X over it. Then center your circle ruler over those lines and work your way around.
DeleteThank you 😊
ReplyDelete